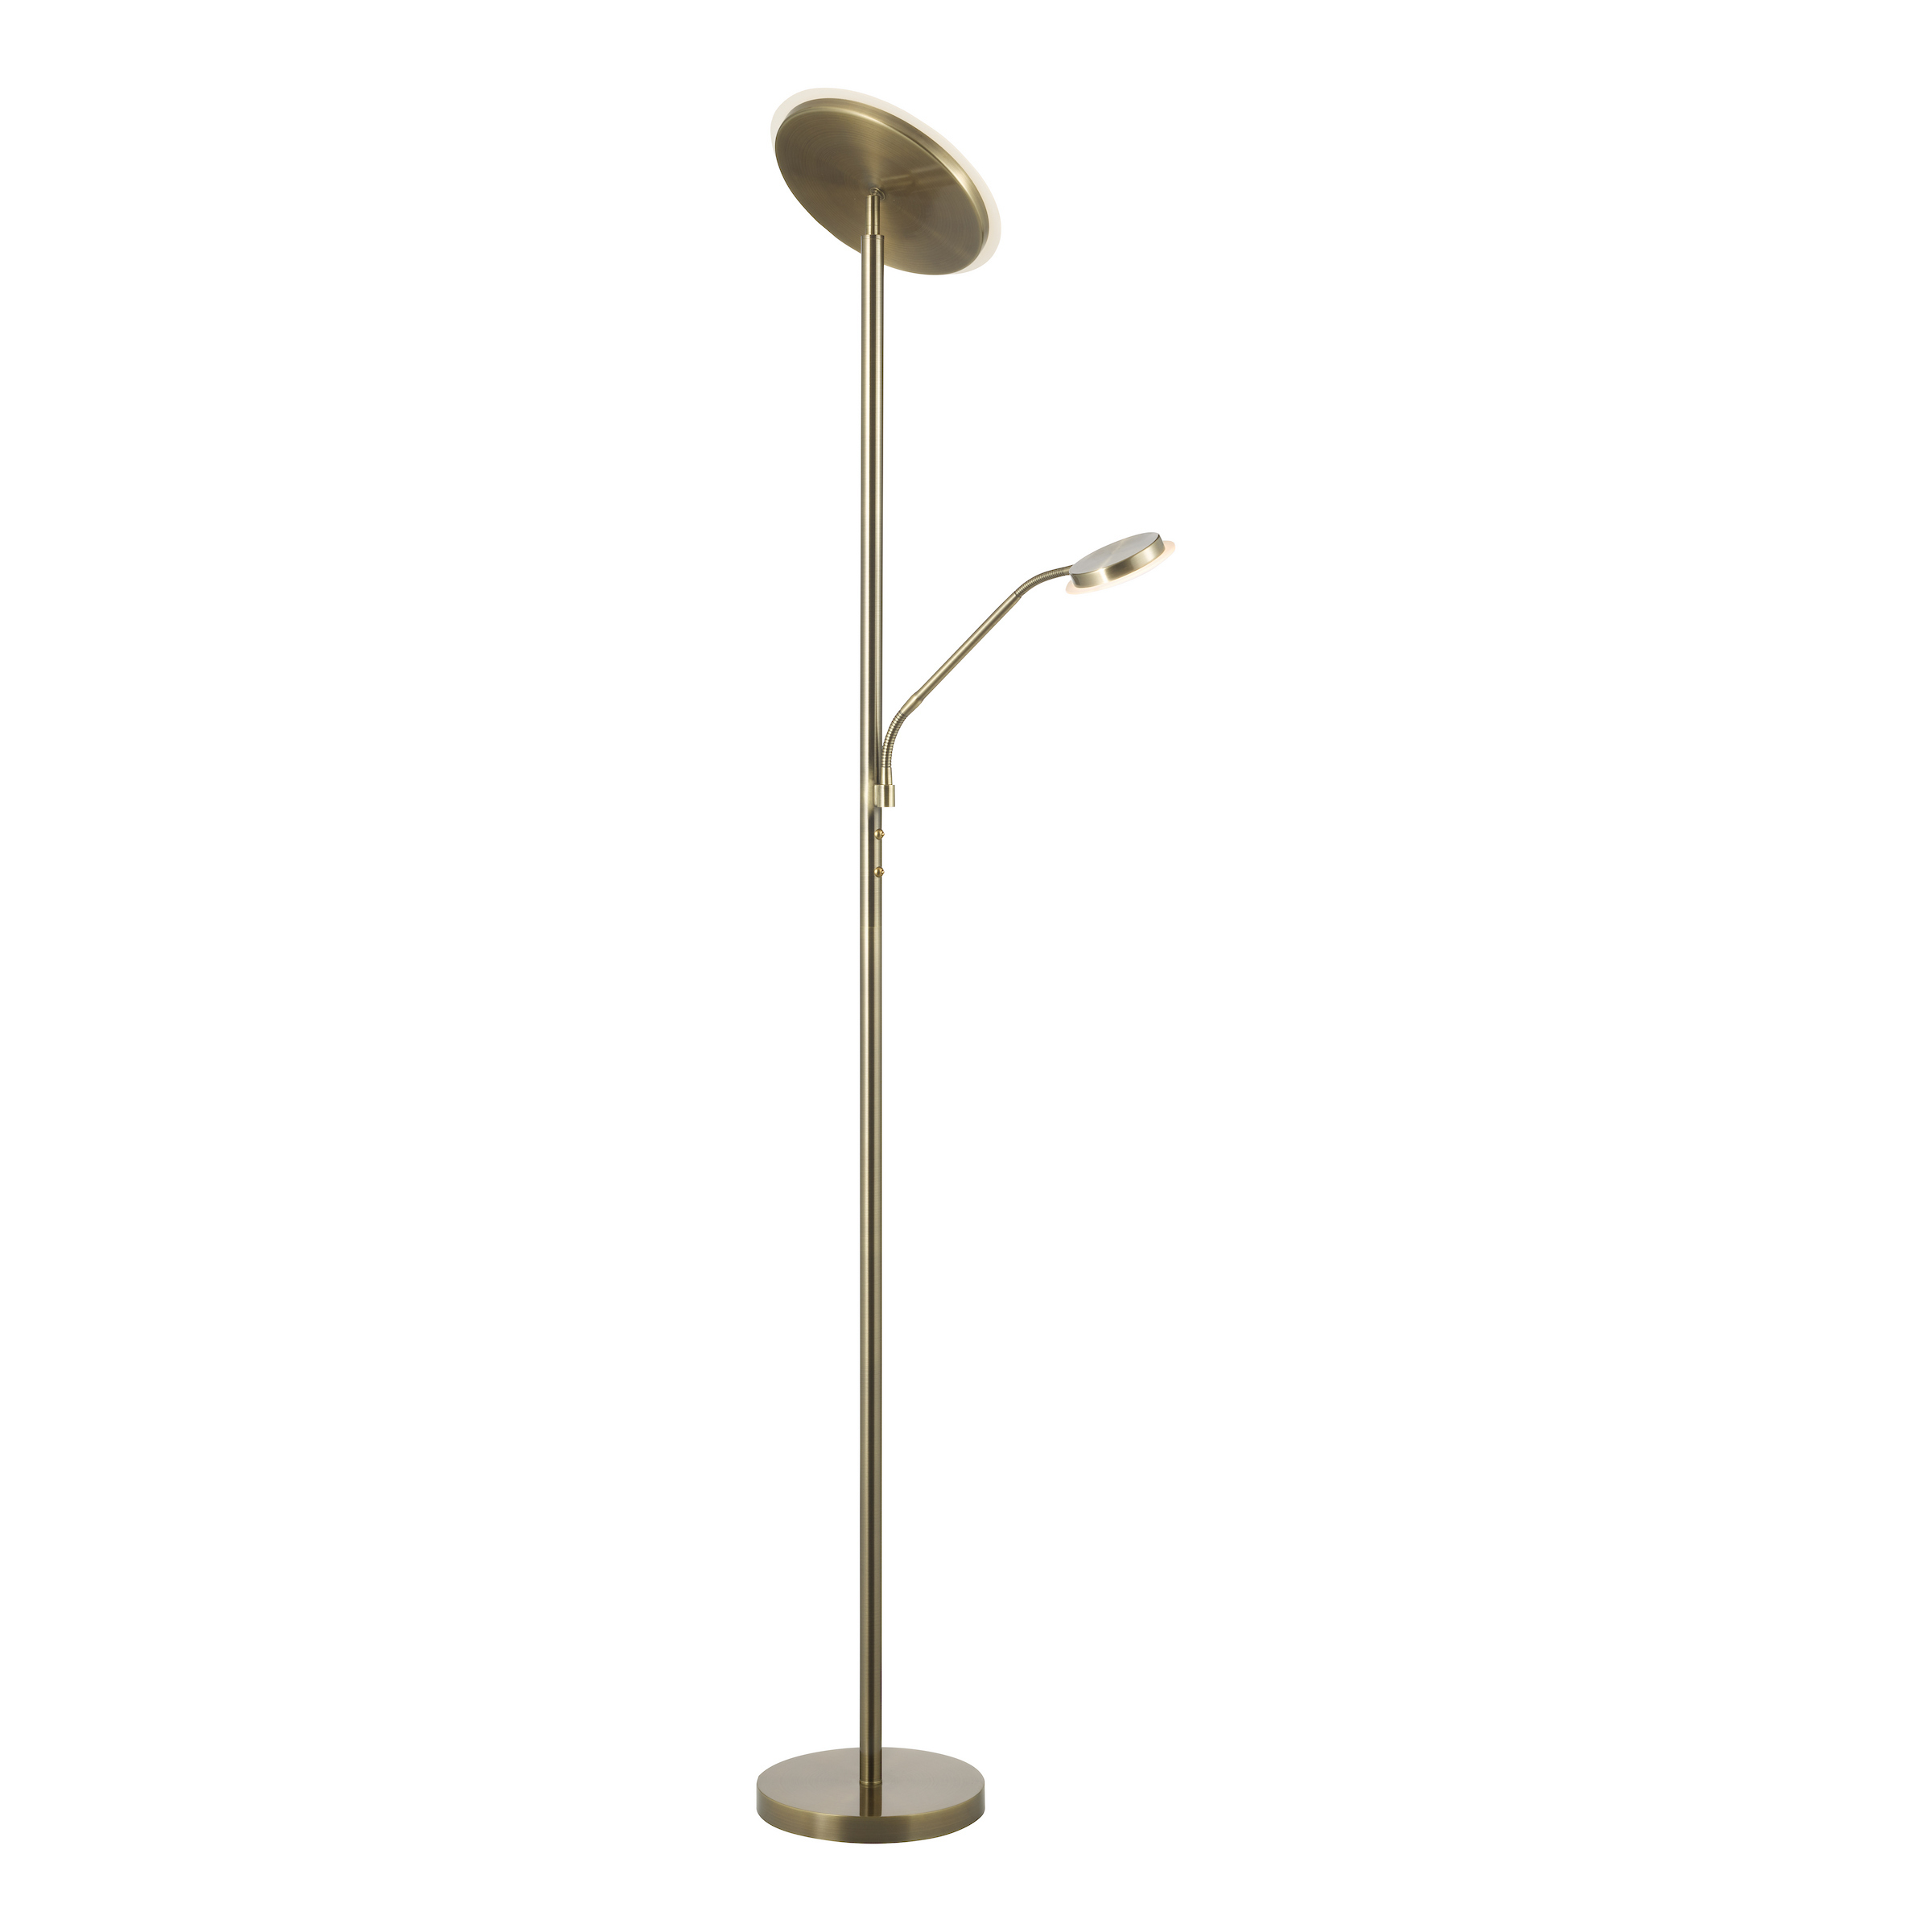
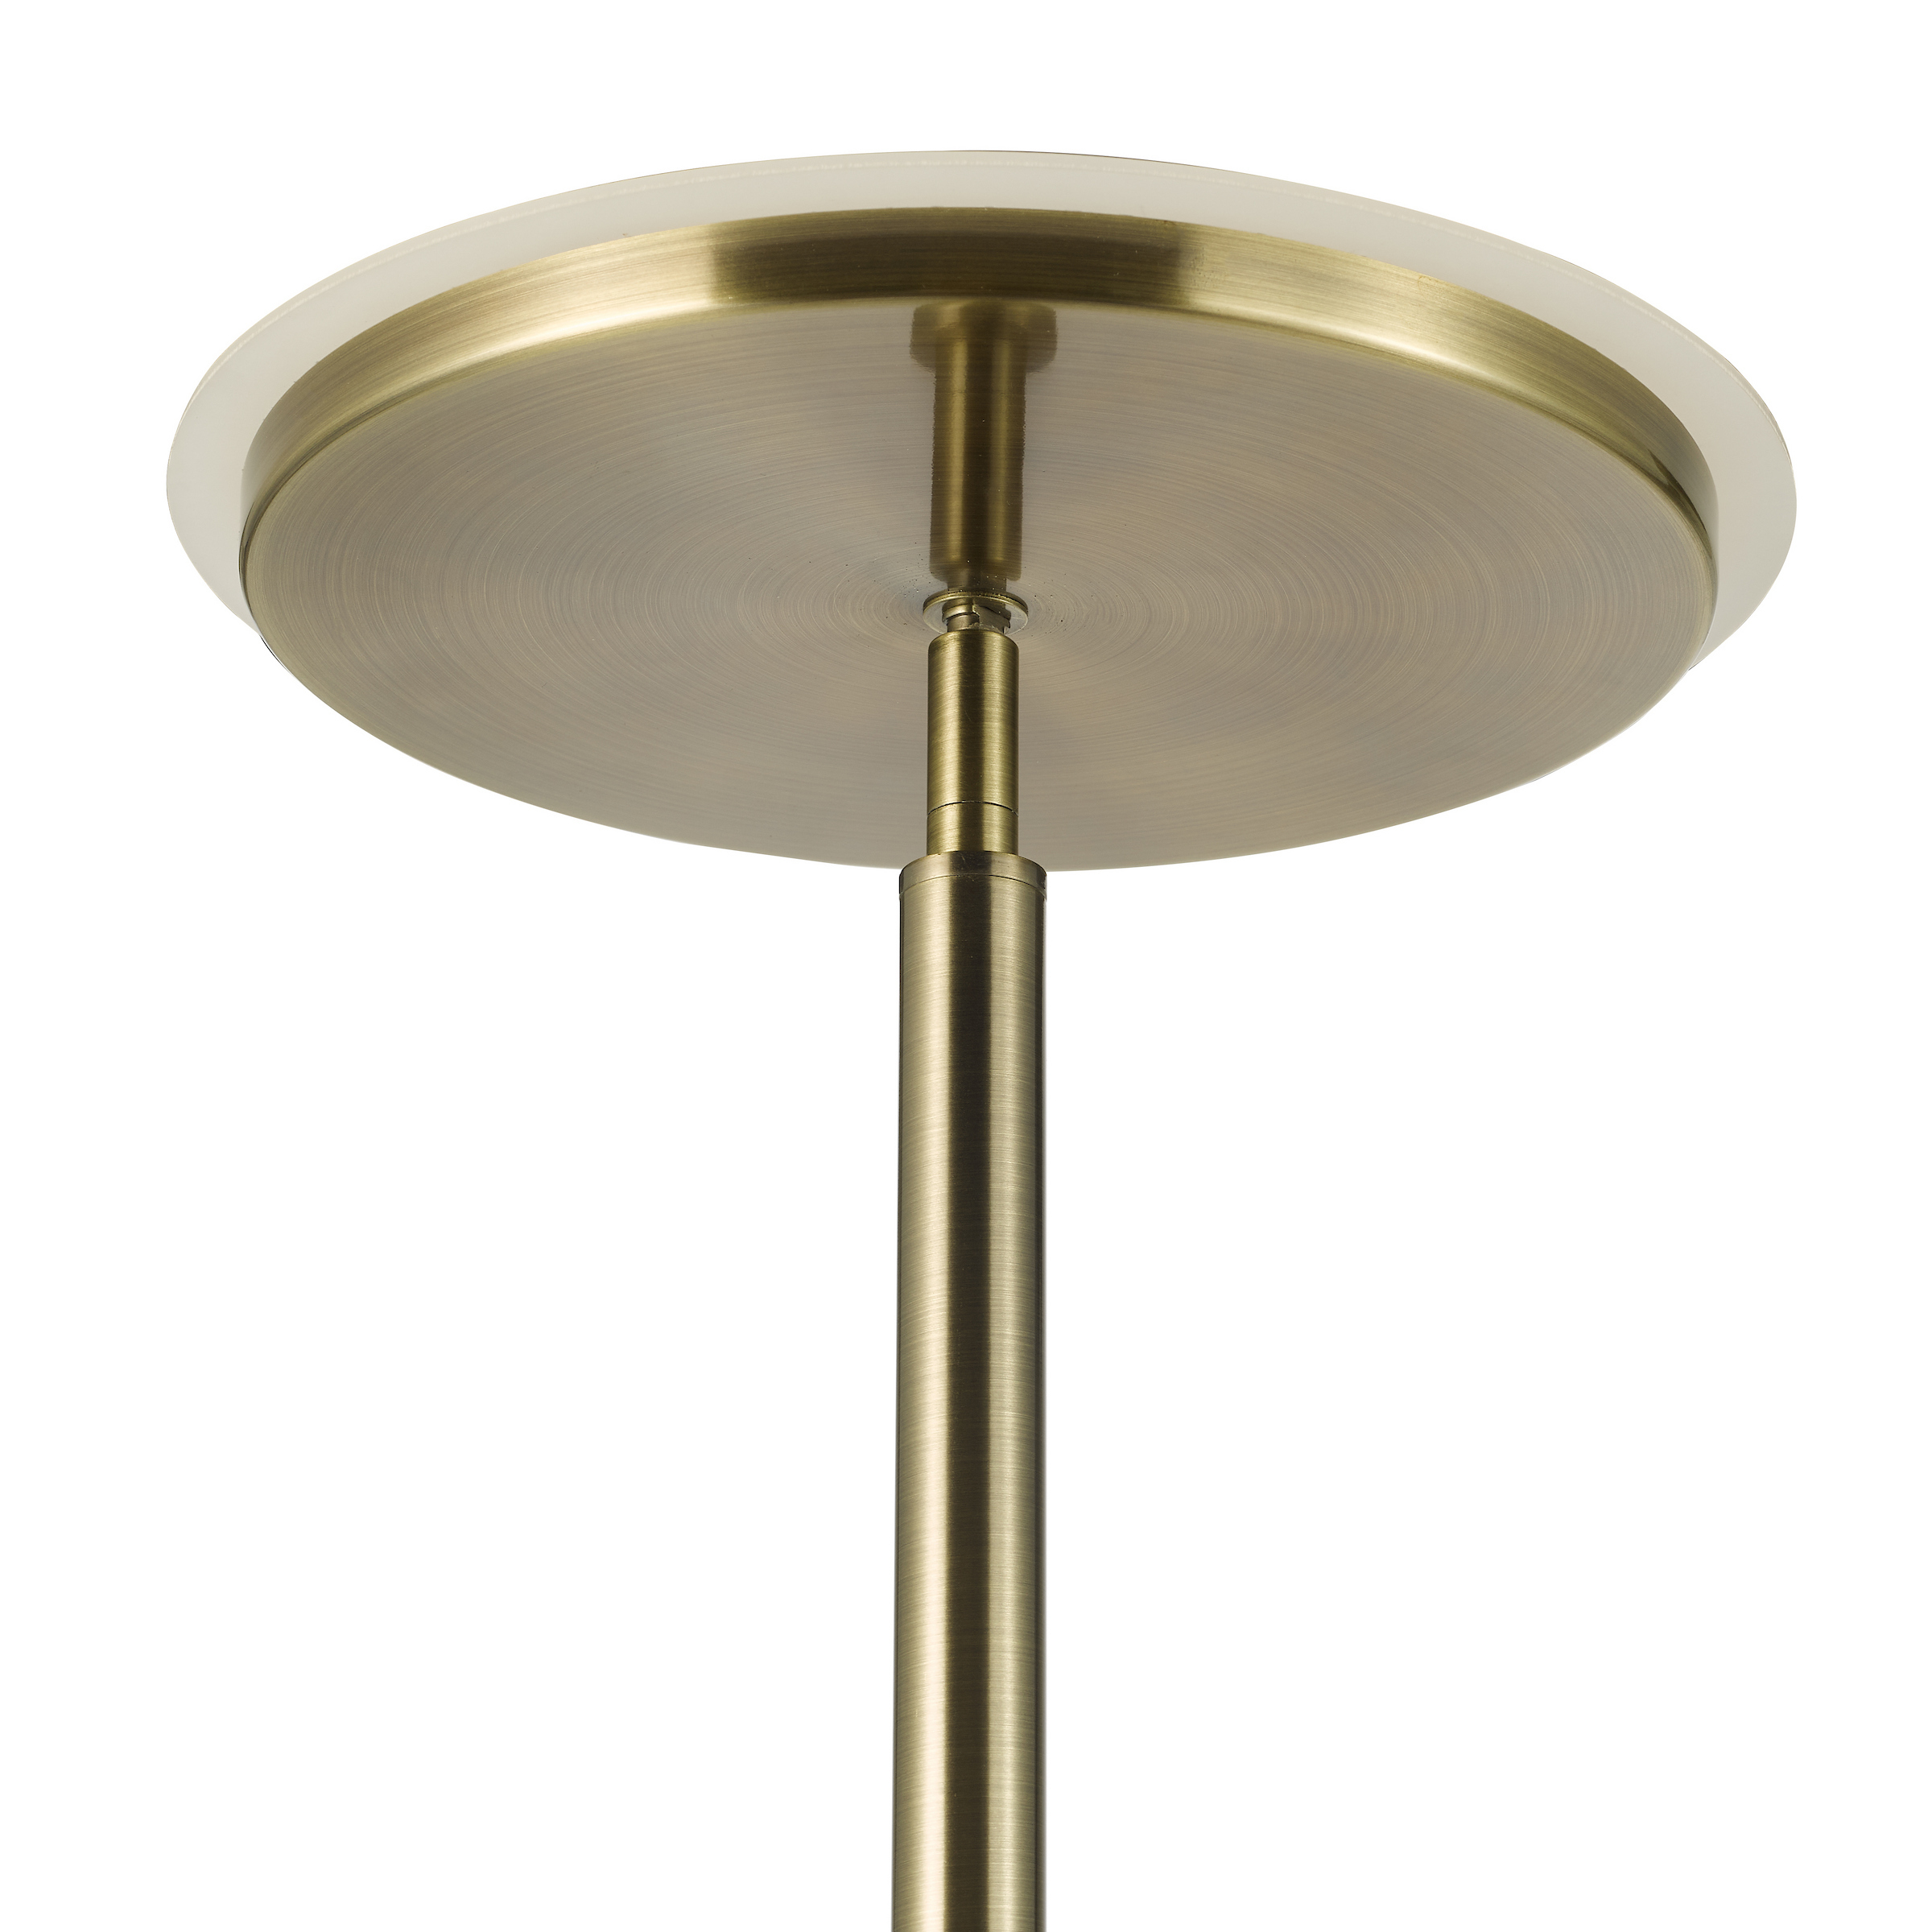
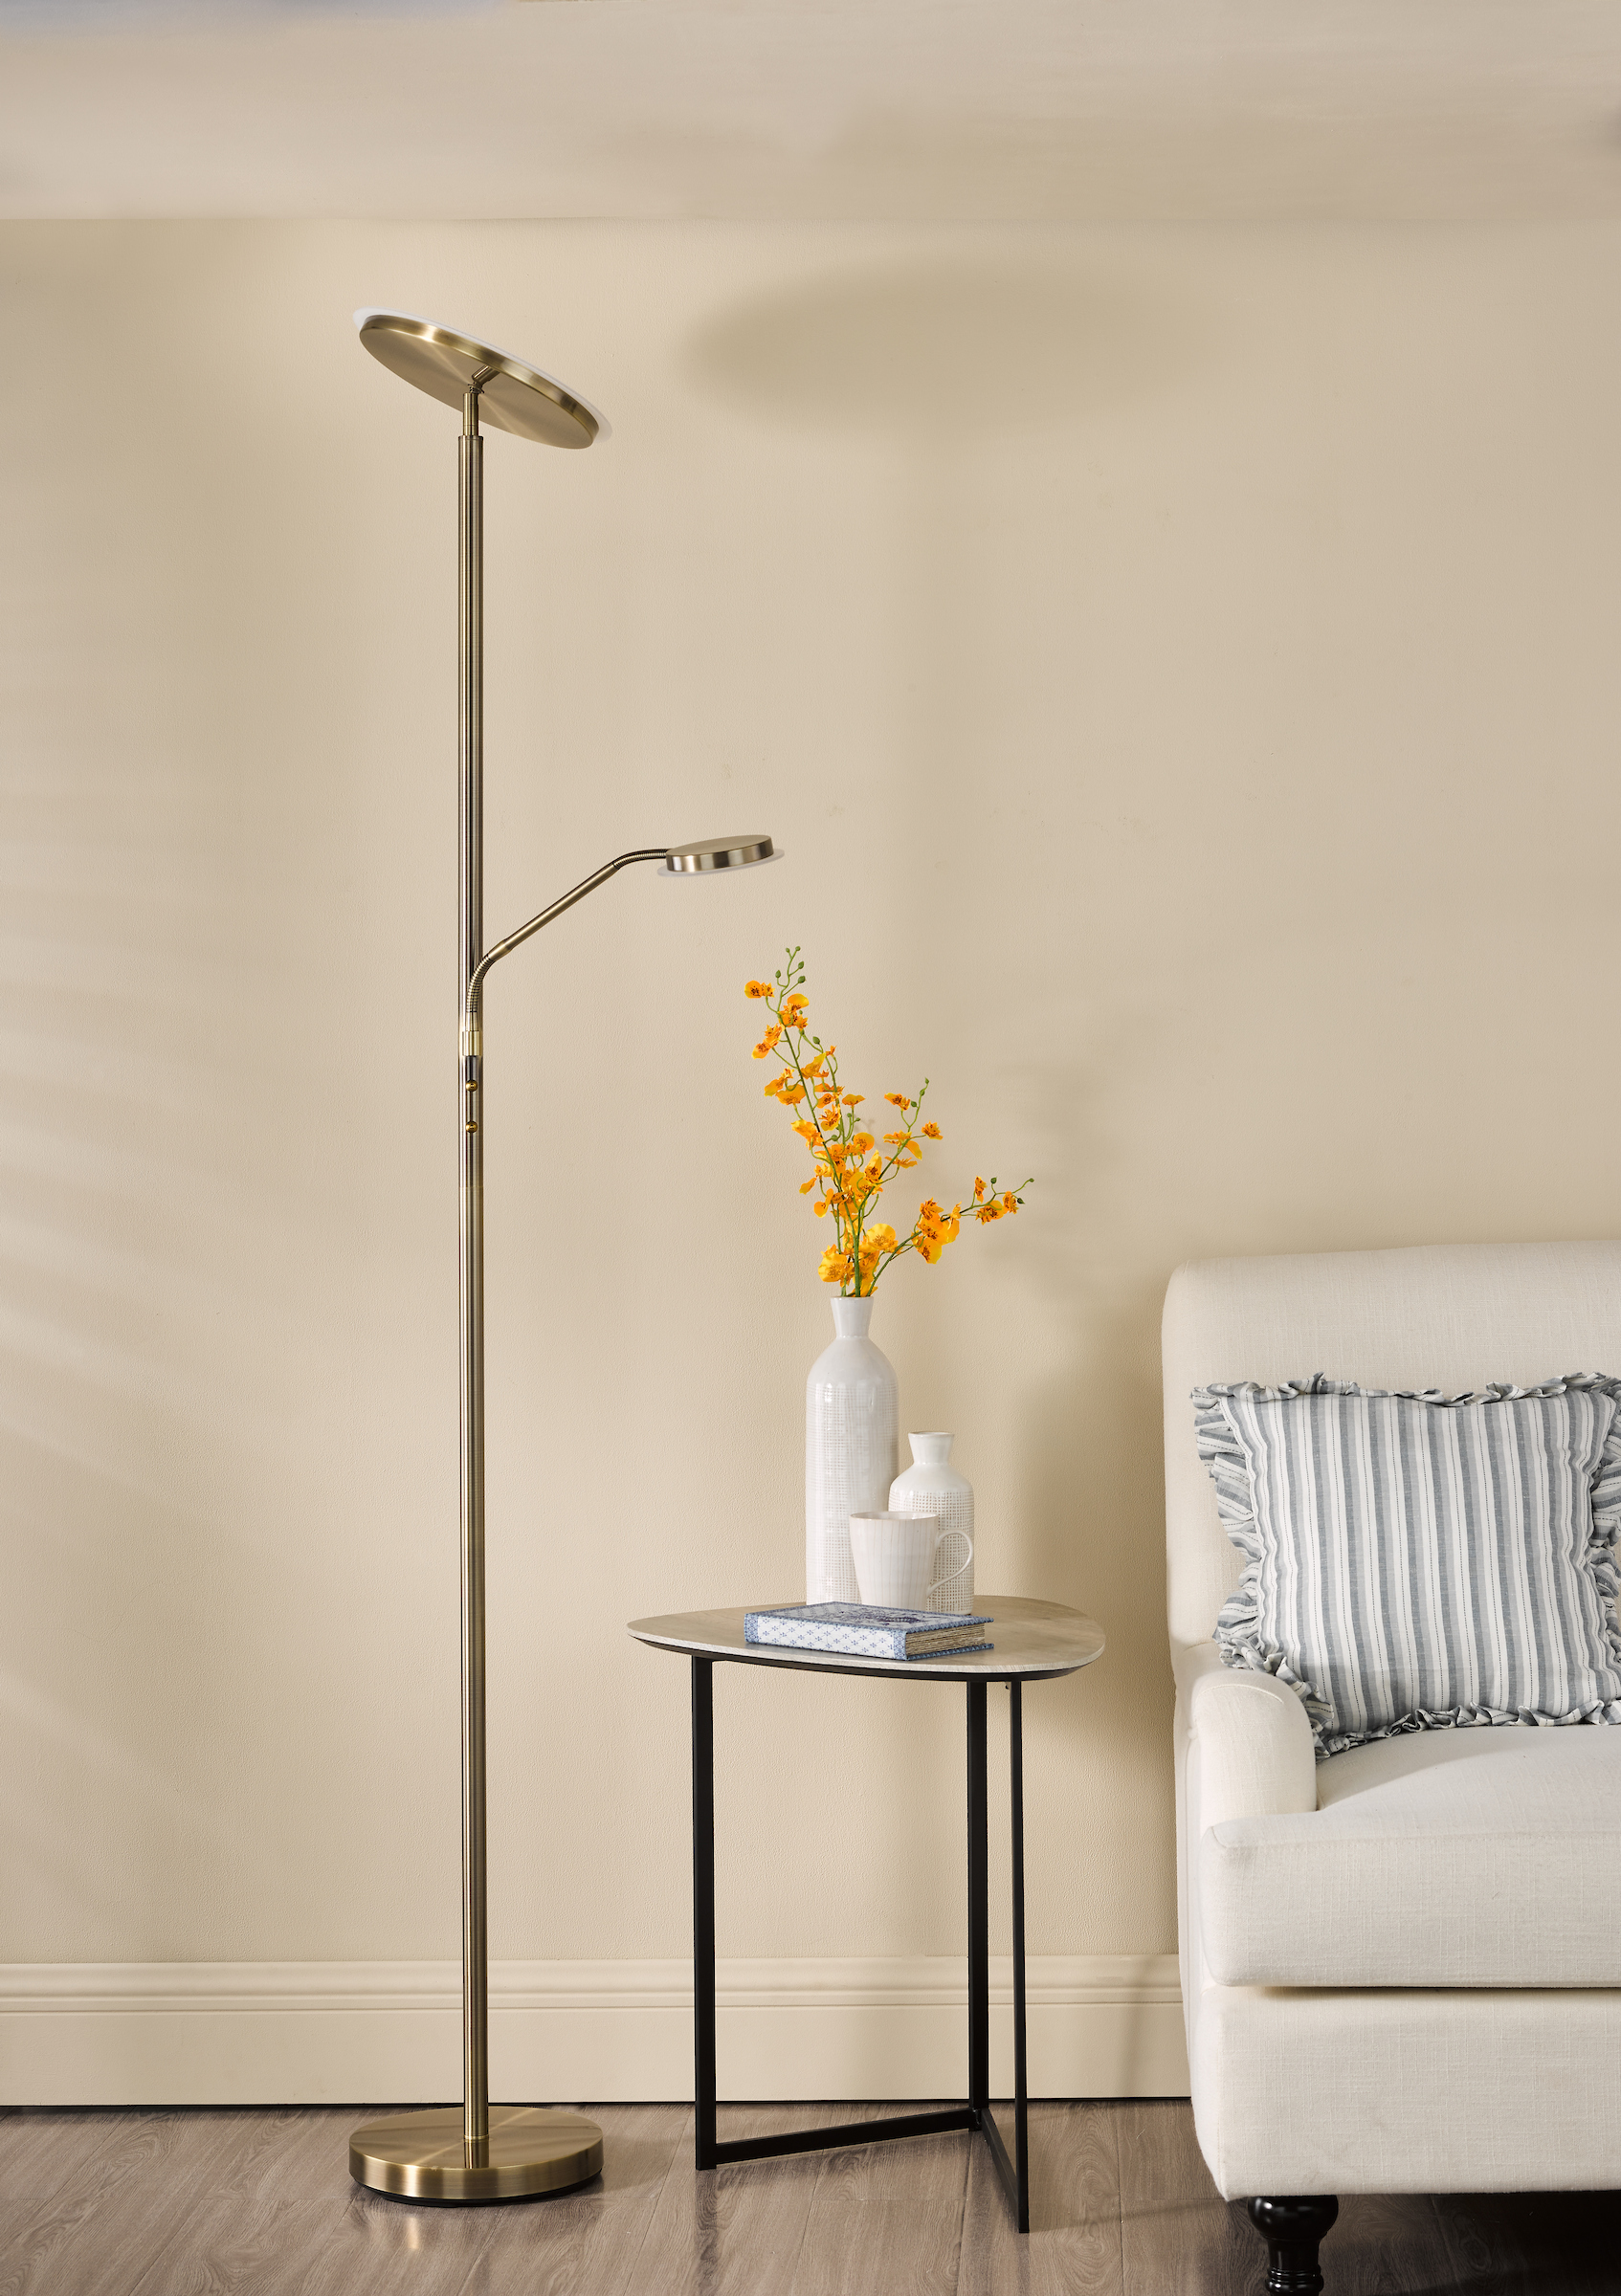
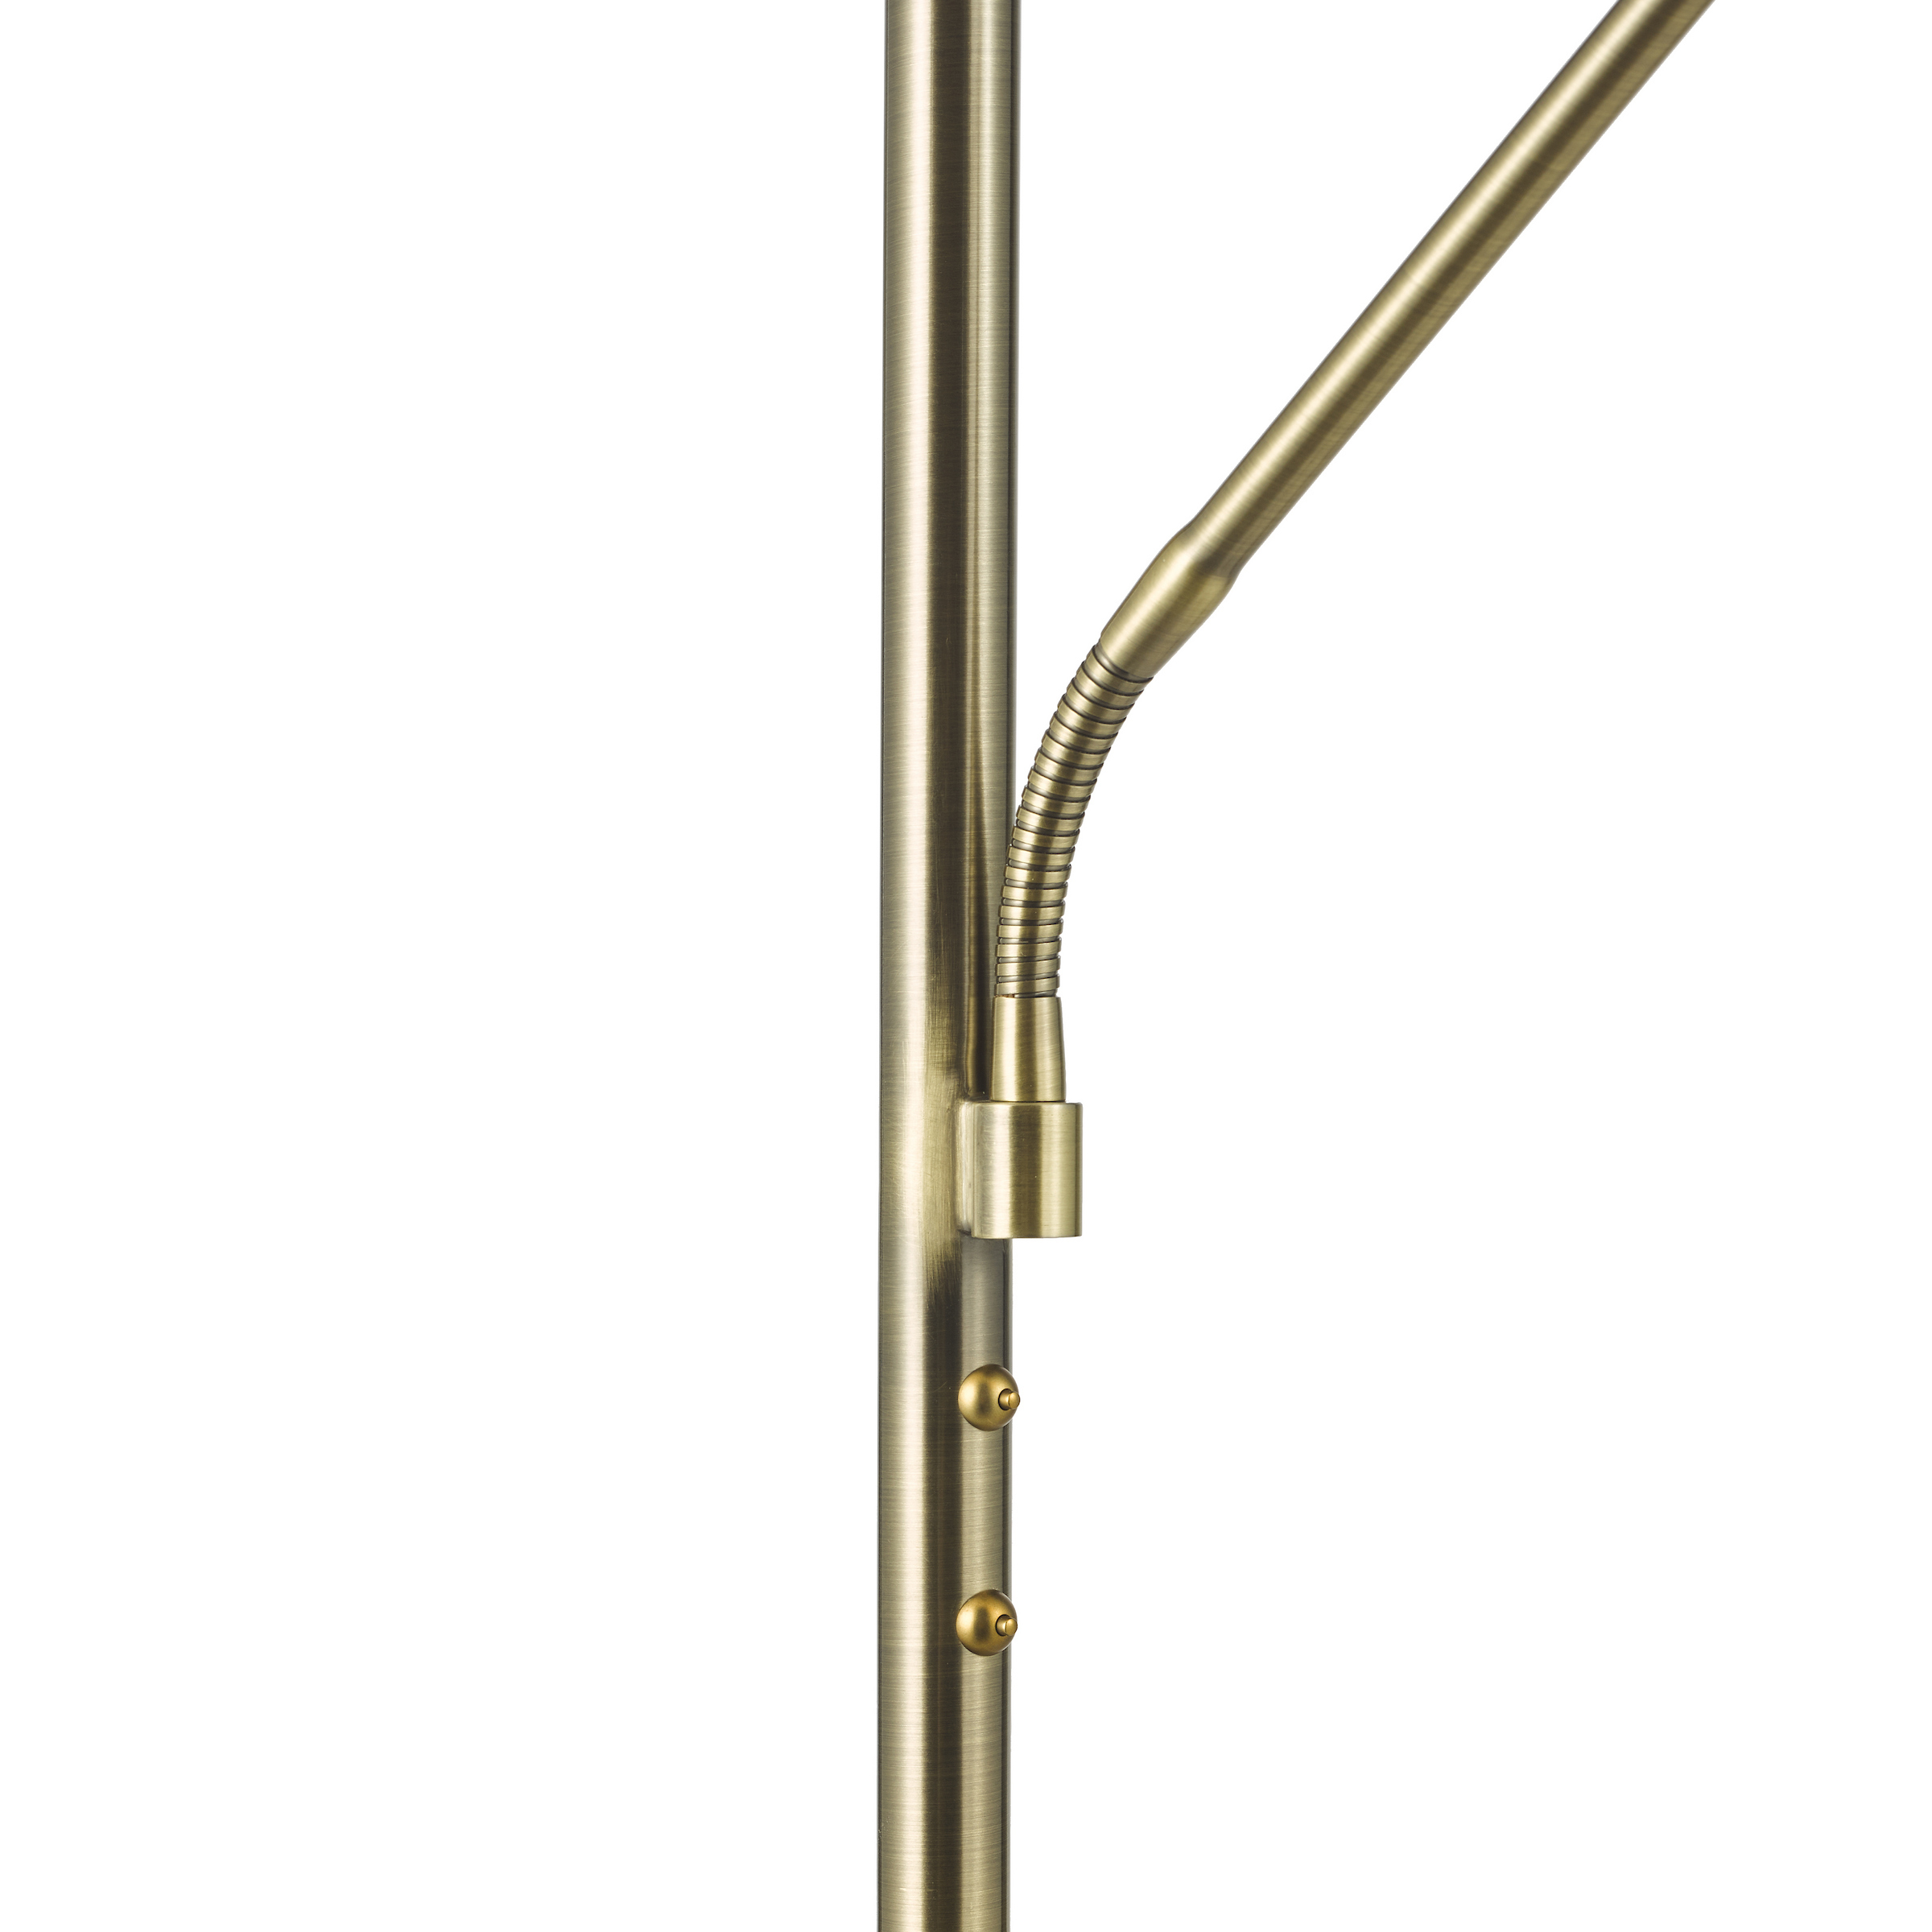
Unpack the floor lamp and remove all packaging. Be careful that you do not scratch the surface of the stems whilst removing the plastic wrapping.
Cover the floor with a soft cloth to avoid damage to the flooring and surface of the product. Then lay the product out on the floor. Assembly should take place with the product lying flat.
Where required, remove the plastic/cardboard cable protectors that are fitted at cable entry points inside stems and the floor lamp base.
Firmly hold the lamp holder section and then screw the middle stem into the upper section together.
Taking care to hold stems parallel to avoid cross-threading. If in doubt, undo the stem and start again.
Firmly hold the lamp holder section and then screw the lower stem into the upper section together, taking care to hold stems parallel to avoid cross-threading.
If in doubt, undo the stem and start again. Screw the assembled floor lamp onto the base, then make sure all assembled sections are fully tightened, taking care not to over-tighten.
Lay the floor lamp onto its side, then use the spanner provided to position the lighting head directly in the middle of the floor lamp base.
This is important to stabilise this floor lamp. Gently pull the excess cable out of the base. Stand the floor lamp upright and ensure all assembled sections are fully tightened.
Take care not to over tighten. Connect the LED driver to the floor lamp, holding the LED driver connector opposite the plugged cable exiting the floor lamp.
Attach the socket on the LED driver to the cable exiting the floor lamp. Push them together, then turn the plug clockwise to lock them together.
Your floor lamp is now ready for use.